HN+
Help

Overview
Content Related


API


Monetization


Integrations
Auto Posting - Bluesky

Auto Posting - Discord
Auto Posting - Ghost

Auto Posting - Mastodon

Auto Posting - Slack

Auto Posting - Teams

Auto Posting - Telegram

Auto Posting - Twitter

Auto Posting - WordPress
Widgets


Other Settings

Analytics

Custom CSS

Custom pages

Domain

Email via custom domain

Making a private site

Newsletter

Roles & Permissions

SEO

Translation
Setting up Stripe
Back to Admin
HN+ currently offers the following way for monetizing your site.
Apart from the last option where you add your own adveritising items, the first three all require you to receive payments from other people.
HN+ makes this seamless by integrating with your Stripe account. In this document, we will explain what is required
to set up your Stripe with HN+ in detail before you can monetize your HN+ site.
We first assume that you have an active Stripe account. If you don't have one, please make sure you create a new account before enabling monetization.
Please note that we currently integrate with Stripe only.
Create an API key for integrating with HN+
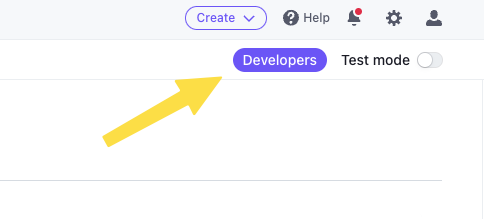
HN+ integrates with your Stripe account via an API key. Even if you have an existing Stripe API key, we strongly recommend creating a separate API key dedicated to integrating with HN+. To create an API key, within your Stripe account, click on the Developers section as shown below.
Click on the API keys tab.

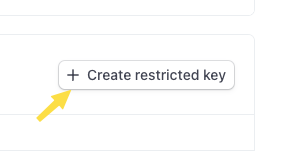
Find a button with a label Create a restricted key.
In the key creation page, type in a name for the key (e.g. HN+ monetization API key). Then you will need to grant this API key a set of write permissions for the following items:


If you are enabling Paid Membership, please make sure you also enable
READ permission on Invoices and
WRITE permission on Subscriptions as well.
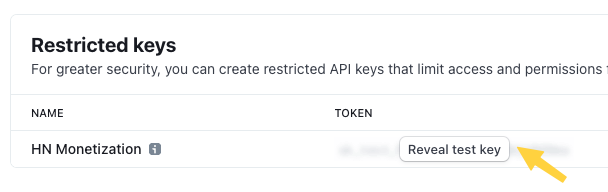
Once you have set these permissions, save the changes. You can now copy the API token as shown below.
You can then paste the key within your HN+ monetization settings page as shown below.
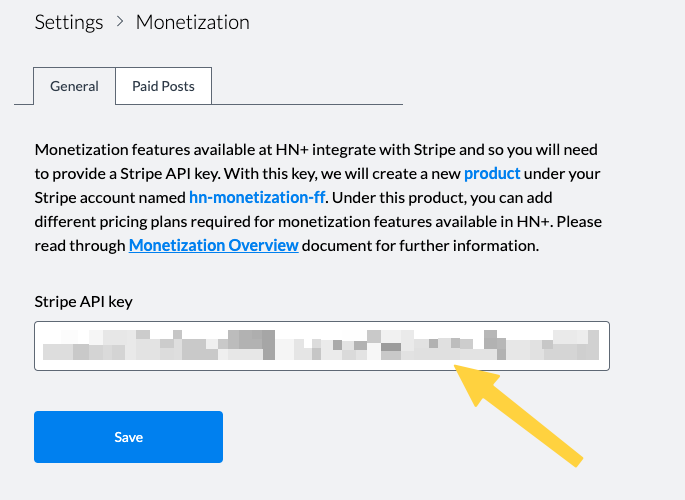
When you save, HN+ will verify that the API key is valid and also create a new Product
within your Stripe account. Within this product, we will create prices and plans required for various monetization features you can use.
